俗話說的好
珍惜生命,遠離前端
但人在江湖飄,哪有不挨刀
身為後端工程師
偶爾還是得碰一下前端
好在還沒慘到需要切版
公司專案主流是使用Next js
加上Redux Toolkit管理資料流
新一點的專案會使用TypeScript
網路上找的範例
通常沒有三者兼具
要不是純React
不然就是js版本
或沒有使用Redux toolkit
很像是CAP理論中間的空集合

要從頭建立這樣的專案
得從好幾篇文章東拼西湊
過程非常痛苦
所以才會有這一篇筆記
簡單紀錄一下怎麼建立專案
本篇不會介紹每個技術的基礎
而是著重在三者的配合
建議還是讀過一遍官網的Quick Start
初始化專案
使用npx進行安裝
1
| npx create-next-app@latest
|
選項的話要記得勾選TypeScript
import alias 選擇 @/*

接著就可以用VSCode打開資料夾
安裝Redux Toolkit
1
| npm install @reduxjs/toolkit react-redux
|
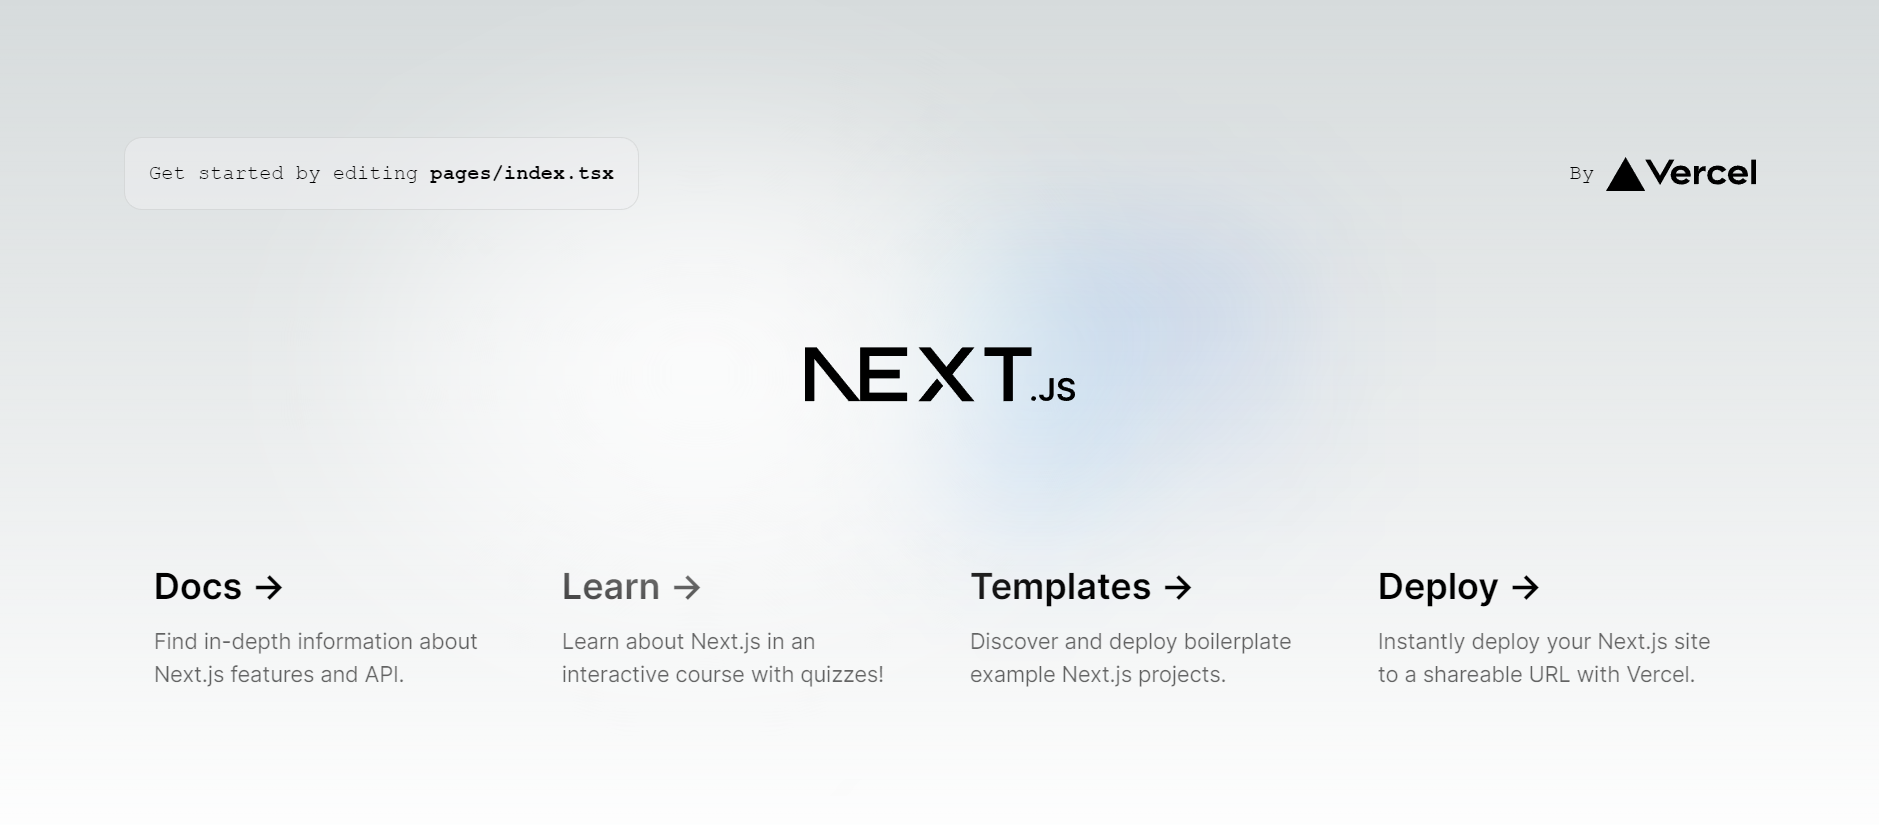
這時候執行 npm run dev
應該可以在 http://localhost:3000
可以看到Next的預設頁面
新增程式碼
建立store
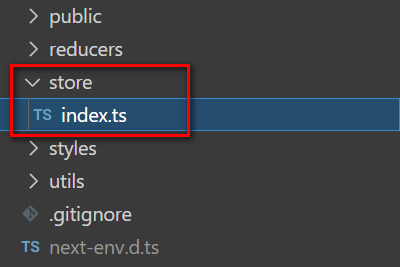
在根目錄新增store的資料夾
建立 index.ts
1
2
3
4
5
6
7
8
9
10
11
12
13
14
15
16
17
18
19
20
21
|
import { configureStore } from '@reduxjs/toolkit'
import { TypedUseSelectorHook, useDispatch, useSelector } from 'react-redux'
const store = configureStore({
reducer: {
}
})
export type RootState = ReturnType<typeof store.getState>
export type AppDispatch = typeof store.dispatch
export const useAppDispatch: () => AppDispatch = useDispatch
export const useAppSelector: TypedUseSelectorHook<RootState> = useSelector
export default store
|
新增API
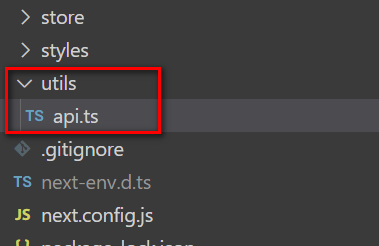
在根目錄建立utils資料夾
建立 api.ts 檔案
1
2
3
4
5
6
7
8
9
10
11
12
13
14
15
16
17
18
19
20
21
22
23
|
import { createAsyncThunk } from "@reduxjs/toolkit";
type Todo = {
id: string;
title: string;
completed: boolean;
};
export const fetchTodos = createAsyncThunk<Todo[], number>(
"todos/fetch",
async (limit: number) => {
const response = await fetch(
`https://jsonplaceholder.typicode.com/todos?limit=${limit}`
);
return await response.json();
}
);
|
建立reducer
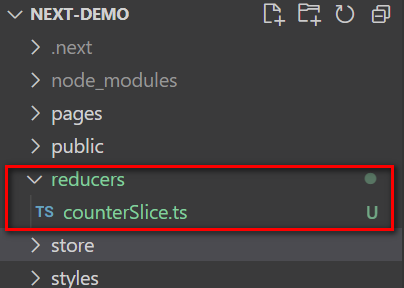
在根目錄建立reducers的資料夾
然後建立 counterSlice.ts 檔案
1
2
3
4
5
6
7
8
9
10
11
12
13
14
15
16
17
18
19
20
21
22
23
24
25
26
27
28
29
30
31
32
33
34
35
36
37
38
39
40
41
42
43
44
45
46
47
48
49
50
51
52
53
54
55
56
57
58
59
60
|
import { createSlice, PayloadAction } from '@reduxjs/toolkit'
import type { RootState } from '@/store'
import { fetchTodos } from '@/utils/api'
interface CounterState {
value: number,
isFetching: boolean
}
const initialState: CounterState = {
value: 0,
isFetching: false
}
export const counterSlice = createSlice({
name: 'counter',
initialState,
reducers: {
increment: state => {
state.value += 1
},
decrement: state => {
state.value -= 1
},
incrementByAmount: (state, action: PayloadAction<number>) => {
state.value += action.payload
}
},
extraReducers: (builder) => {
builder.addCase(fetchTodos.pending, (state) => {
state.isFetching= true;
});
builder.addCase(fetchTodos.fulfilled, (state, { payload }) => {
state.value += payload.length
state.isFetching= false;
});
}
})
export const { increment, decrement, incrementByAmount } = counterSlice.actions
export const selectCount = (state: RootState) => state.counter.value
export default counterSlice.reducer
|
接著再回到剛剛store資料夾的index.ts
填入counterReducer
1
2
3
4
5
6
7
8
9
10
11
12
13
14
15
16
|
import { configureStore } from '@reduxjs/toolkit'
import { TypedUseSelectorHook, useDispatch, useSelector } from 'react-redux'
import counterReducer from '../reducers/counterSlice'
const store = configureStore({
reducer: {
counter: counterReducer,
}
})
|
注入store
編輯pages資料夾底下的 _app.tsx
1
2
3
4
5
6
7
8
9
10
11
12
13
14
|
import '@/styles/globals.css'
import type { AppProps } from 'next/app'
import { Provider } from "react-redux";
import store from "../store/index";
export default function App({ Component, pageProps }: AppProps) {
return <Provider store={store}>
<Component {...pageProps} />
</Provider>
}
|
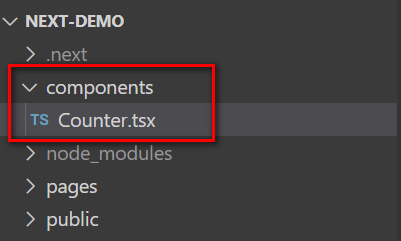
建立counter 元件
新增components的資料夾
在裡面建立Counter.tsx
1
2
3
4
5
6
7
8
9
10
11
12
13
14
15
16
17
18
19
20
21
22
23
24
25
26
27
28
29
30
31
32
33
34
35
36
37
38
39
40
41
42
43
44
45
|
import React from 'react'
import { decrement, increment } from '../reducers/counterSlice'
import { useAppSelector, useAppDispatch } from '../store'
import { fetchTodos } from '@/utils/api'
export function Counter() {
const count = useAppSelector(state => state.counter.value)
const isFetching = useAppSelector(state => state.counter.isFetching)
const dispatch = useAppDispatch()
return (
<div>
<div>
<button
aria-label="Increment value"
onClick={() => dispatch(increment())}
>
Increment
</button>
<button
aria-label="Increment Async value"
onClick={() => dispatch(fetchTodos(10))}
>
Increment Async value
</button>
<span>{count}</span>
<button
aria-label="Decrement value"
onClick={() => dispatch(decrement())}
>
Decrement
</button>
{isFetching && <p> fetching</p>}
</div>
</div>
)
}
|
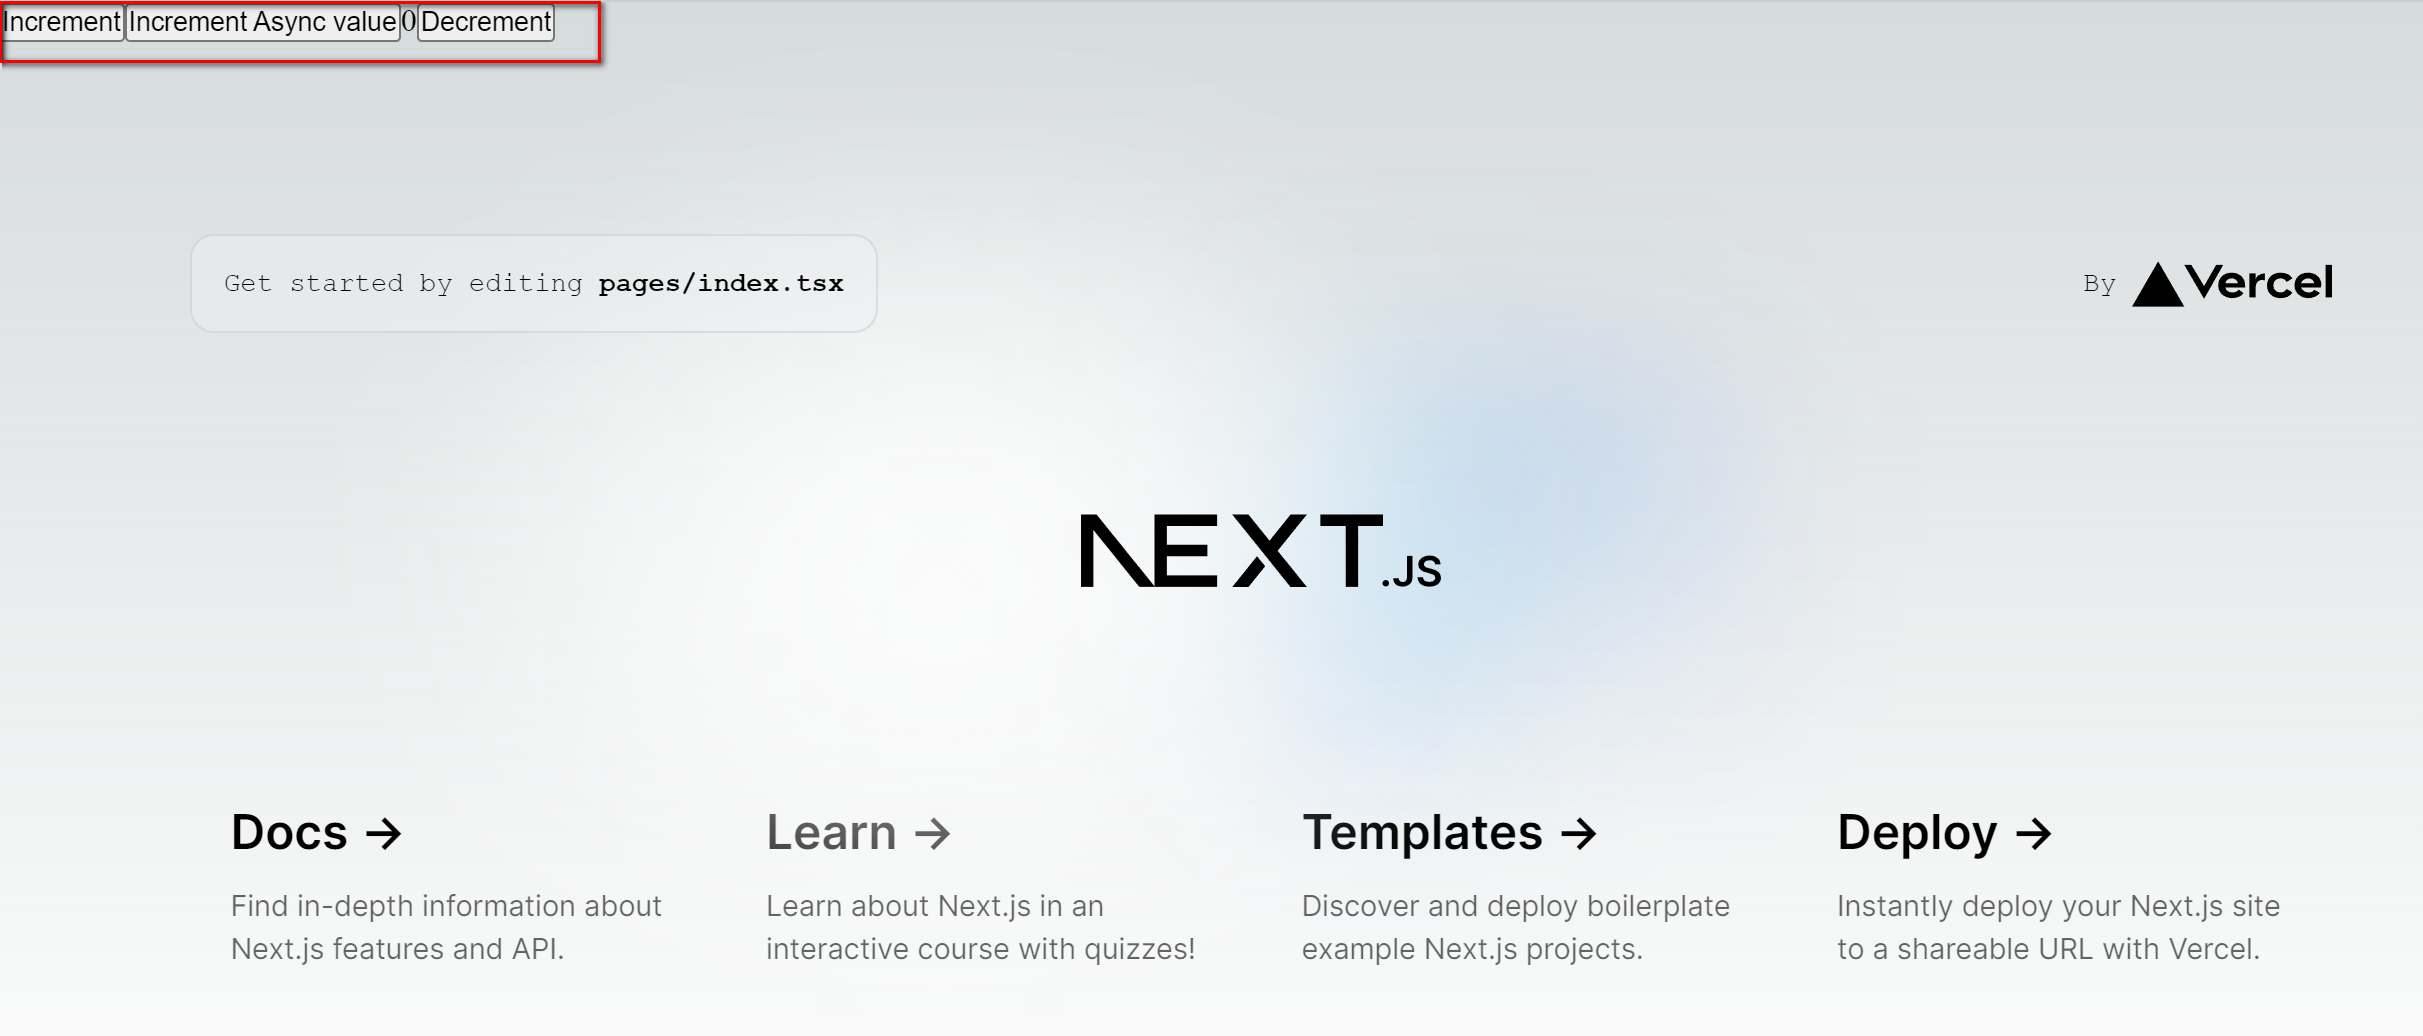
在原本pages的index.tsx
import Counter這個元件
隨便一個地方加入Counter.tsx
接著就應該可以看到頁面出現counter了

心得
前端的世界真的太可怕了
兩三年就換一種寫法
寫完這篇都感覺折壽了
過程中當然也是有收穫
彷彿是在看框架進化史
從原本的class component
到hook的寫法
從一開始有夠難懂的Redux
到方便易用的Redux Toolkit
演化的方向都是越來越簡單
這一點倒是前後端共通的
文章中的程式碼
可以參考 next-demo
希望可以幫助到跟我一樣的前端苦手
參考資料
https://nextjs.org/docs/api-reference/create-next-app
https://redux-toolkit.js.org/tutorials/quick-start
https://redux-toolkit.js.org/tutorials/typescript
https://medium.com/frontendweb/how-to-use-redux-and-redux-tool-kit-in-nextjs-666a126b9703
https://www.newline.co/@bespoyasov/how-to-use-thunks-with-redux-toolkit-and-typescript--1e65fc64


